 Pocklit
What Pocklit does, and how to use it
Pocklit is a zero-based budget: every euro you have gets a job before you spend it.
The idea in one paragraph
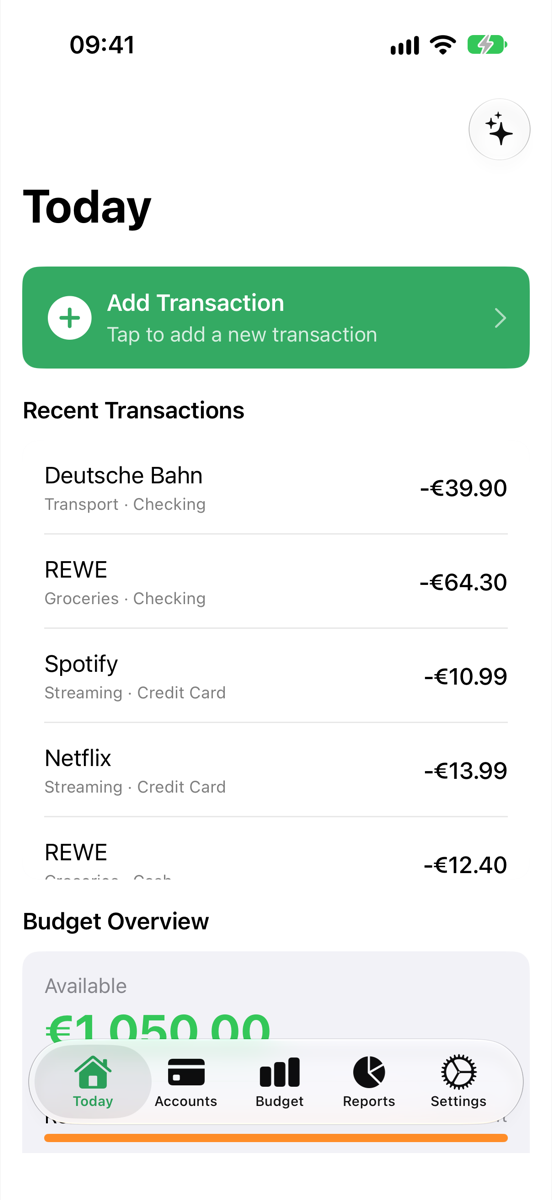
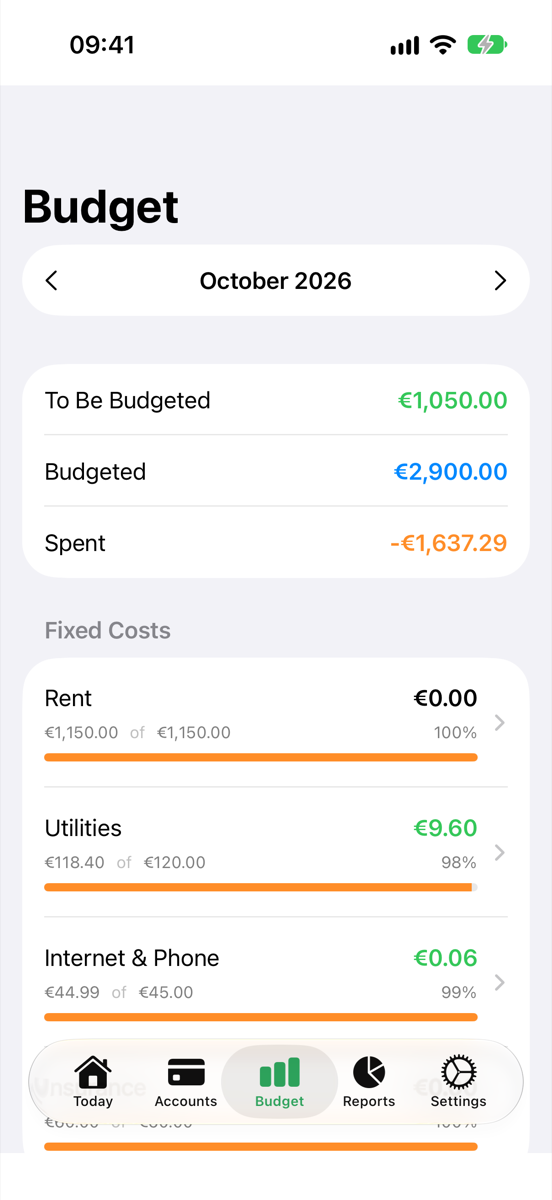
Most budgeting fails because it forecasts. Pocklit does not forecast; it only ever works with money you actually have. The balances of your accounts show up at the top of the budget as To Be Budgeted. You assign that money to categories (rent, groceries, a holiday) until To Be Budgeted reads zero. Every expense you record lowers its category's Available, so at any moment the budget shows what is really left for each purpose. When life changes, you move money between categories instead of overspending. Add money, assign it, spend from categories, adjust: that is the whole loop.
Getting started on the Mac (four steps)
A new budget opens with a short tour of exactly these steps; replay it any time from the Help menu.
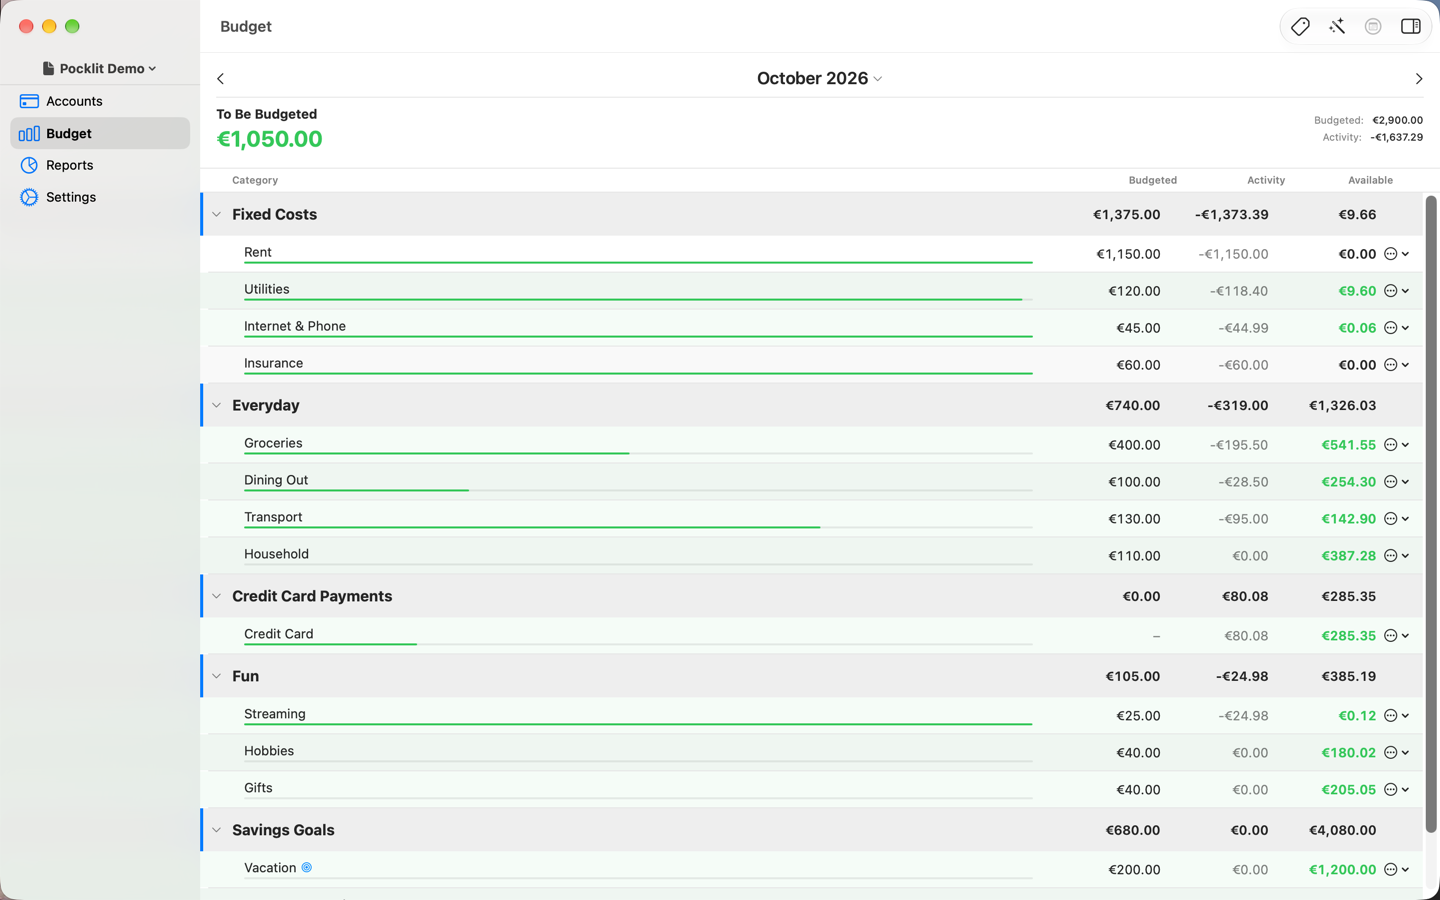
- Add your accounts. On the Accounts screen, use the + button in the sidebar toolbar to add each place your money lives (checking, savings, cash, credit card) with its current balance. Those balances become the money you can budget.
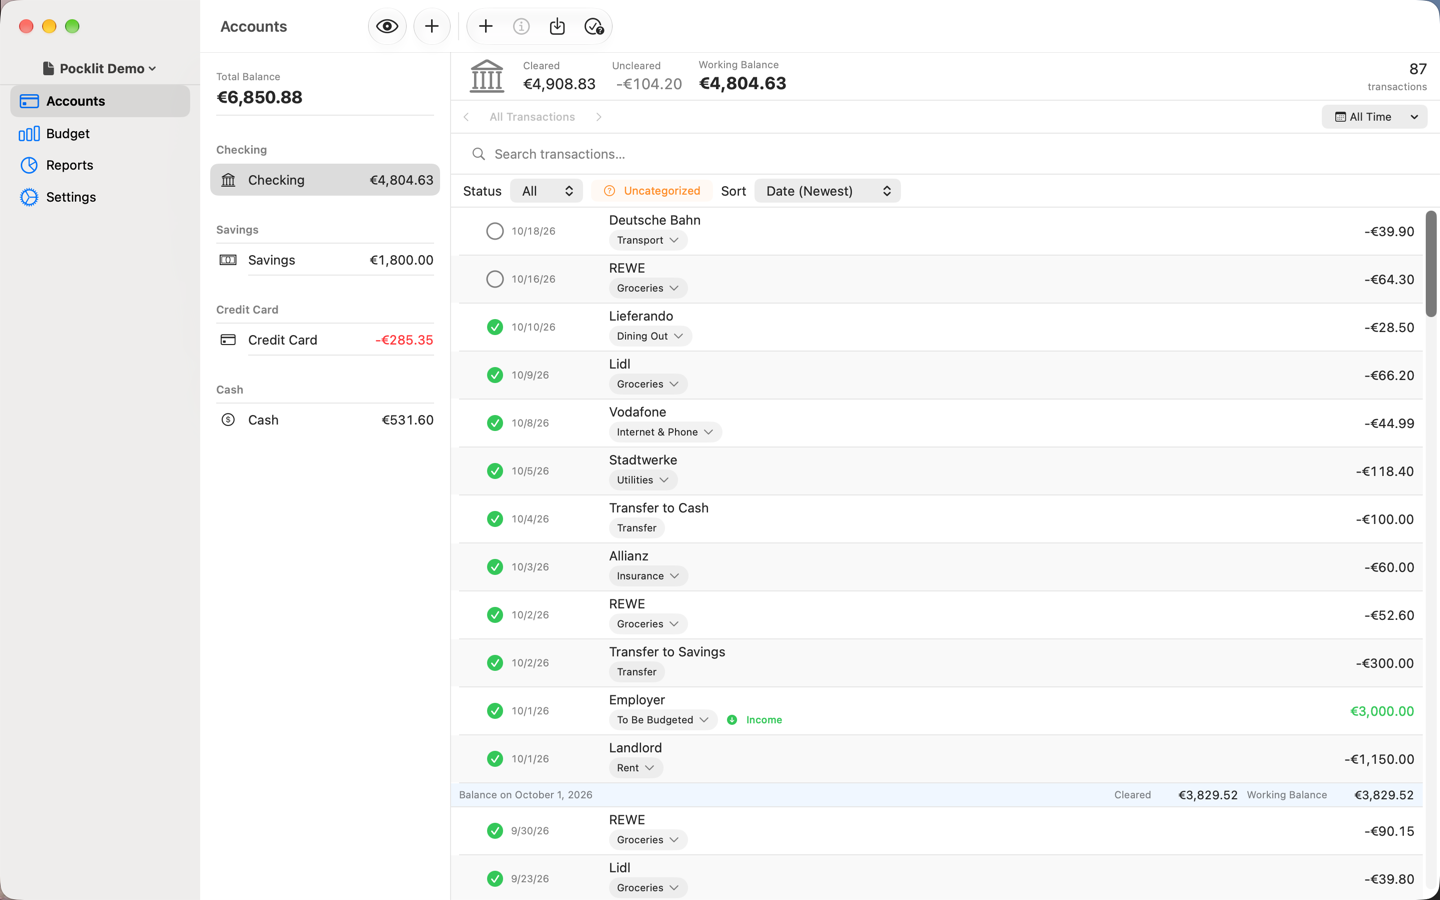
- Check your categories. On the Budget screen, Pocklit has already created groups such as Fixed Costs, Variable Costs and Savings Goals with common categories. Use Manage Categories in the toolbar to rename, add or hide any of them so they match your life.
- Give every euro a job. Select a category's Budgeted amount and type what it should have this month. Keep going until To Be Budgeted reads zero: that is a balanced budget.
- Record what you spend. Back on the Accounts screen, pick an account and press ⌘N (or the + button) to enter a transaction: date, payee, category, amount. Each one lowers that category's Available.
Accounts
Accounts mirror the places your money lives: checking, savings, cash and credit cards. You add one for each real account with its current balance, so your budget starts from what you actually have. Accounts you no longer use can be marked inactive: they keep their history but leave the sidebar.
Categories
Categories are the jobs your money can have, organized into groups such as Fixed Costs or Savings Goals. A new budget starts with a sensible set you can change freely under Manage Categories: add, rename, reorder or hide them. Only To Be Budgeted is fixed.
Budgeting month by month
Money in your accounts shows up as To Be Budgeted. The aim is to give every euro a job until it reaches zero. Available is what a category still has after this month's spending. On the Mac you assign money to categories, move money between categories, fill in amounts from previous months with Quick Budget and Auto-Budget, set recurring amounts, and set goals for what you are saving toward. Overspent a category? Cover it from another one; the budget stays honest.
Transactions
Every transaction records money leaving or entering an account: a date, a payee, a category and an amount. Enter them as they happen; the payee field suggests categories from your own history, so the second coffee at the same café is one keystroke. On the Mac you can also mark a transaction cleared once your bank shows it, reconcile an account against its statement, split a transaction across several categories, and record transfers between your own accounts.
Importing from your bank
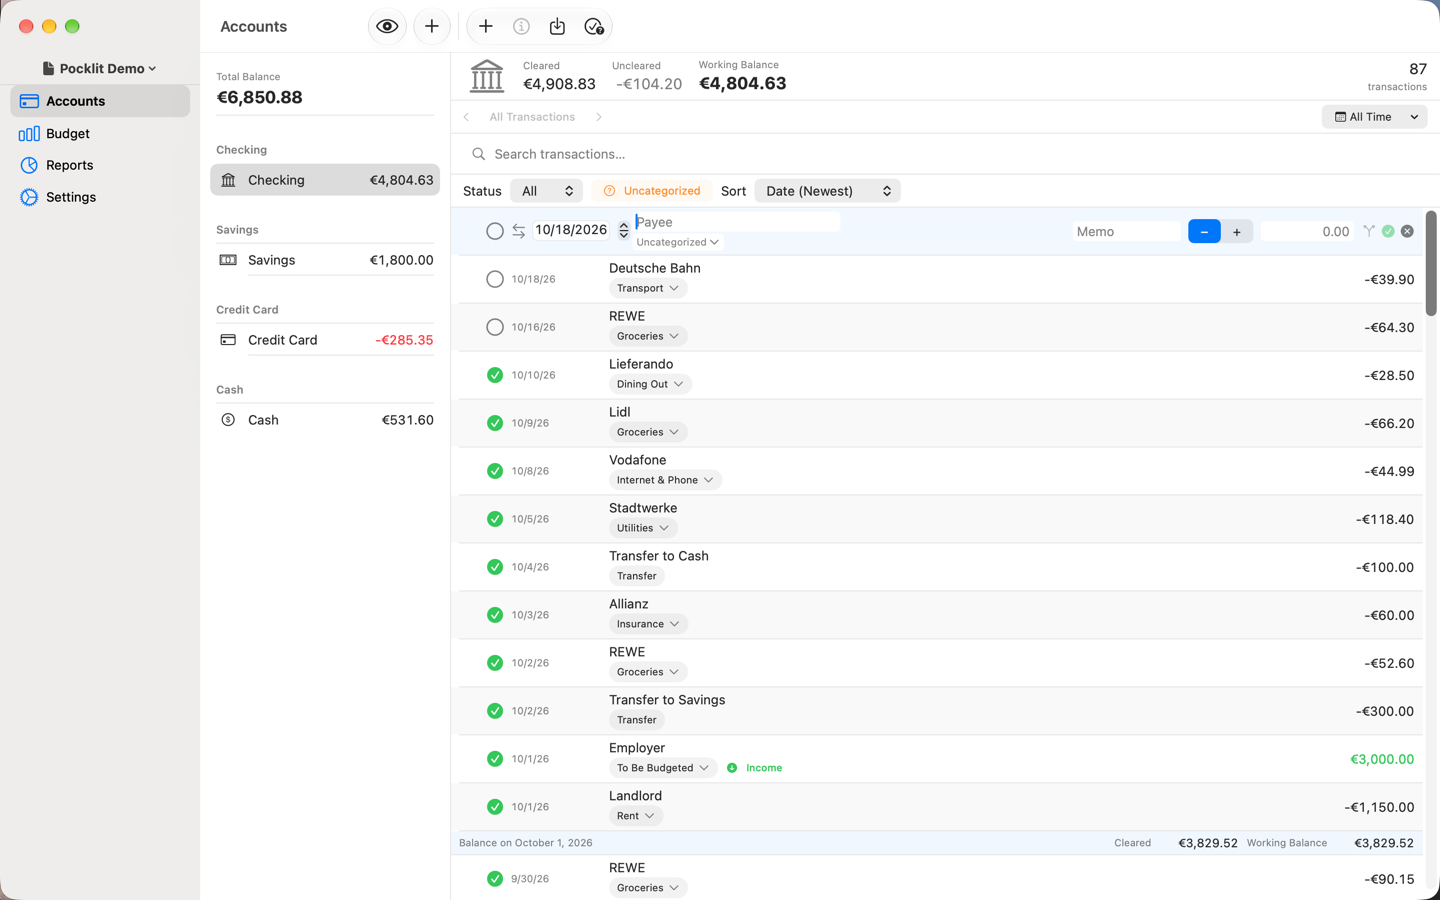
Import statements as CSV, OFX, QIF or MT940 files, or bring a whole budget over from a YNAB export. Pocklit previews every import, skips transactions it already knows, and lets you map columns and categories before anything is saved. If you use MoneyMoney on the Mac, install the bundled extension once (Settings → MoneyMoney) and send transactions straight across.
Reports
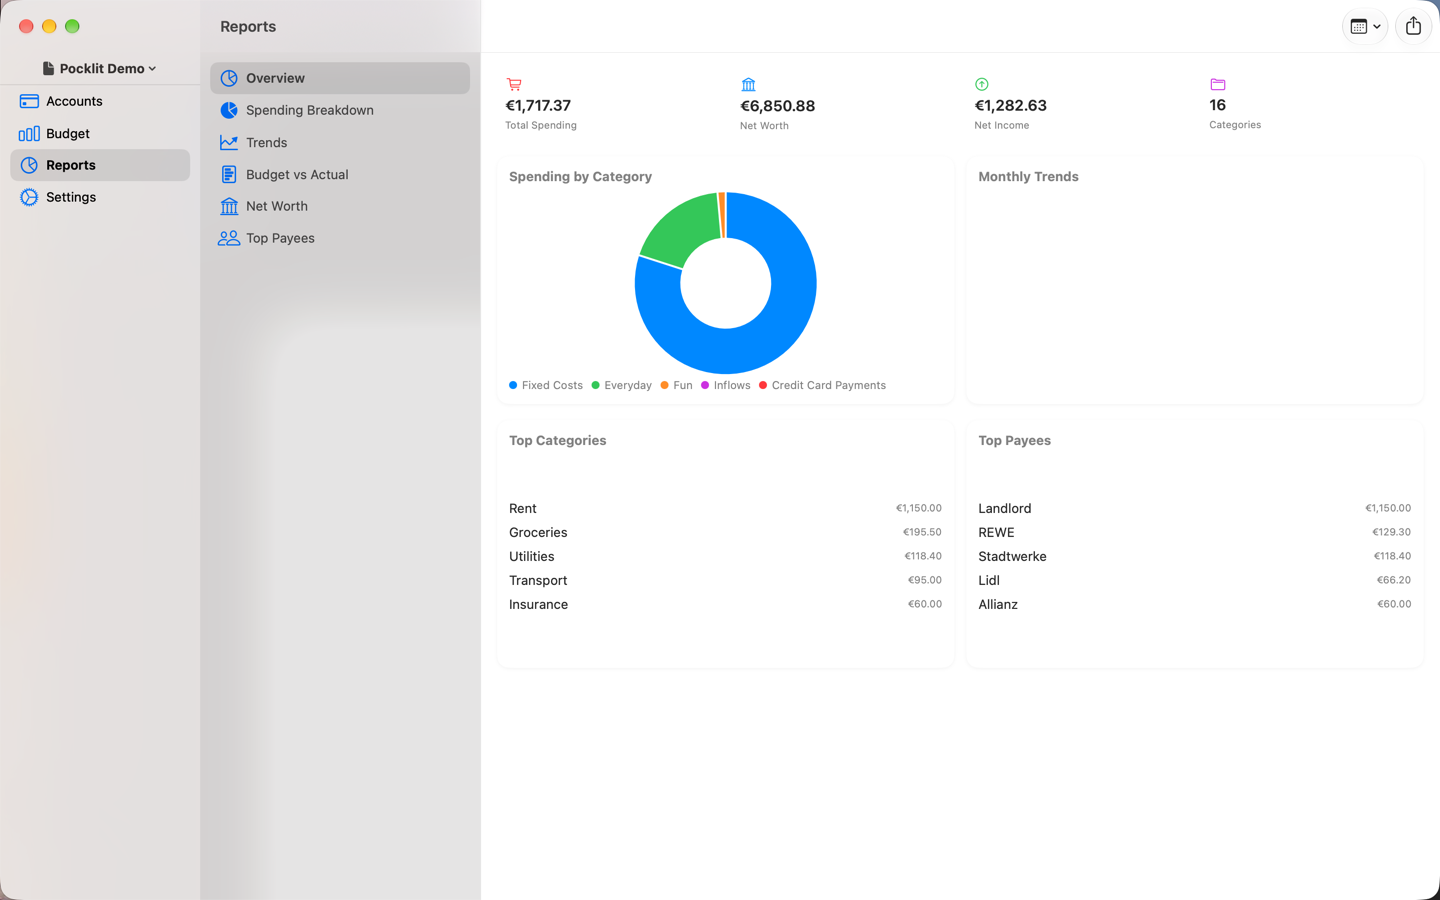
Reports show where your money went: spending by category, trends over time, budget versus actual, net worth, and your top payees. Pick a period to narrow most reports.
Backups
Pocklit backs up each budget automatically when you close it or quit the app and keeps the most recent copies. To go back to an earlier state, open Backup & Restore in Settings and choose a copy. You can also export a budget as an archive and import it elsewhere.
Encryption and locking
On the Mac you can encrypt a budget with a password to keep its file unreadable without it. An encrypted budget locks when you close it, after a period of inactivity, or when you lock it yourself. Unlock it with your password, or with Touch ID or Face ID where available. There is no recovery without the password; that is the point.
iCloud sync and the iPhone
Pocklit for Mac is the full app. Pocklit for iPhone is the companion for entering spending on the go. To use it: create a budget on the Mac, open Settings → Manage Budgets, and turn on iCloud sync for that budget. It then appears on your iPhone, signed into the same Apple Account, after a few seconds (Settings → Refresh Data fetches the latest changes right away). Sync runs through your own private iCloud; sensitive details are encrypted before they leave your device. Budgets without sync stay on the Mac only.
Keyboard shortcuts
Most actions have a keyboard shortcut. Press ⌘/ or choose Keyboard Shortcuts from the Help menu for the full list. Common ones: ⌘N new transaction, ⌘1/⌘2/⌘3 switch between Budget, Accounts and Reports.
Where to get it
- Direct download for Mac (notarized DMG, macOS 27 or later).
- Mac App Store and App Store for iPhone: coming soon.